


Discover the ultimate in clarity, durability, and performance with Liquid Stone Elite - the two-part clear epoxy resin system that delivers unbeatable scratch resistance, self-healing properties, and exceptional clarity. Formulated for coating bartops, tabletops, and countertops, Liquid Stone Elite is the premium choice for anyone who demands the best in epoxy resin technology.
With its water-clear, rock-hard finish and high-temperature resistance, Liquid Stone Elite is the perfect choice for anyone who wants the best in both durability and aesthetics. And with a mixed viscosity of 2800 cP, it's thinner than both Liquid Stone and Liquid Stone Ultra UV, giving it a longer working and drying time.
But what truly sets Liquid Stone Elite apart is its flexibility and self-healing properties. Unlike other epoxy resins, Liquid Stone Elite can actually "heal" itself when exposed to high temperatures, making it an ideal choice for bartops and countertops that are subject to heat and other stresses.
So whether you're a professional contractor or a DIY enthusiast, Liquid Stone Elite is the clear choice for high-quality, premium table top epoxy that will take your projects to the next level.
✔️ 60+ Minute Working Time
✔️ Dry in 12-18 Hours
✔️ 1:1 Mixing Ratio by Volume
✔️ High Gloss Finish
🔥 High Temperature Resistance
☀️ Industry Leading UV Resistance
✔️ Made in the US
✔️ No VOC
✔️ Self-Leveling
✔️ Ultra-Clear
Using a tape measure, measure the square feet of your surface (Length x Width) and then input this information into the Epoxy Resin Coverage Calculator. If you plan to do a dirty pour or add colorant, you may want to increase the required epoxy resin by 5-25%. After calculating the amount of epoxy resin that your project will require, make sure that your surface is completely level and adjust as needed. A level surface is very important.
Gather your epoxy resin, mixing supplies, and personal protective equipment. We recommend at the very least using nitrile gloves, safety glasses, clothing to protect from spills. Be sure to use epoxy resin in a well-ventilated room or use an air-purifying respirator.
Before applying epoxy resin to the surface utilize plastic sheeting to cover any surfaces that epoxy resin could get on. We recommend applying tape to the backsplash/wall, plastic on the floor, as well as plastic covering all cabinets. Be mindful of where you walk to ensure you do not track epoxy resin outside of your work area.
Measure your desired amount of epoxy resin at a 1:1 ratio by volume into a graduated mixing cup. Pour the resin first, allow it a moment to settle, and then follow up with an equal amount of hardener.
Mix the two parts together for a total of four minutes. Be sure to scrape the bottom and sides of the container while mixing so that there is no un-mixed epoxy resin. Aggressive mixing can introduce excessive air, stir slowly but thoroughly. Continue to stir until the epoxy resin no longer has ribbons and returns to clear.
Apply the epoxy resin to your surface immediately after mixing. You can do this by using your gloved hand, a foam roller, a brush, a trowel, and many other tools. Make sure that epoxy resin completely covers the surface. Using your gloved hand or spreading utensil, apply epoxy resin to the sides of the surface (if necessary).
If you do not apply enough epoxy resin it may pull away from the edge. If you apply too much epoxy resin it can drip off or run to one end depending on the surface.
Quickly sweep a propane torch or heat gun across the surface being sure to keep the flame 6-8 inches away from the surface. Do not overheat the epoxy resin or hold the heat in one spot for too long. We recommend heating the epoxy resin only during the working time, do not apply heat once the working time has passed. After eliminating bubbles allow the epoxy resin time to cure in the appropriate environment (listed in Technical Data below).
It is very important that the epoxy resin has a consistent curing temperature throughout the entire curing process. Keep in mind that curing the epoxy resin in a warmer environment will yield a more durable surface. We recommend a maximum of 120° F and a minimum of 75° F.
Ensure that you are working in a well-ventilated room or using an air-purifying respirator.
Tip: Hate those pesky drips? Wait a couple of hours after applying the epoxy resin and return with a spreader or knife and push the tool up against the bottom of the surface while simultaneously pulling the tool from side to side at a slight angle. The epoxy resin will have thickened up enough where it will no longer drip and you will not need to sand the drips off the following day.
We recommend applying at least two layers of epoxy resin for added surface protection. There are two ways of adding additional layers of epoxy resin to the existing layer.
1. Apply the next layer while the last layer is still tacky to the touch. Allow the first layer to dry for 3-6 hours and lightly touch it with a gloved hand. If the epoxy resin coating feels tacky without pulling up like taffy, you can apply an additional layer at this time. Applying an additional layer while the previous layer is still tacky gives you a chemical bond.
2. Apply the next layer after the last layer has dried for 24 hours. Lightly sand the last layer with 220 grit sandpaper, remove any debris from sanding, and apply an additional layer starting with Step 1. Applying an additional layer after sanding will give you a mechanical bond.
Both methods are excellent options for applying additional layers. The chemical bond will allow you to complete your project faster, while the mechanical bond may allow you to remove any surface imperfections before the final coat.
Questions? Check out our FAQ.
Not finding what you need? Email support@ksresin.com for project support.
Bartops
Tabletops
Countertops
End Tables
Stainless Steel Tumblers
Surfaces that require a durable top-coat
Ideal Curing Temperature - 75°F - 80°F
Working Time - 60+ Minutes
Dry to Touch - 12-18 Hours
Full Cure - 72 Hours
Maximum Recommended Coating Thickness - 1/8"
Maximum Recommended Casting Thickness - 1/4"
Temperature Resistance - 500°F
Shelf Life (Unopened) - 12 Months
Shelf Life (Opened) - 6 Months (Depending on environment)
Shore D Hardness - 76
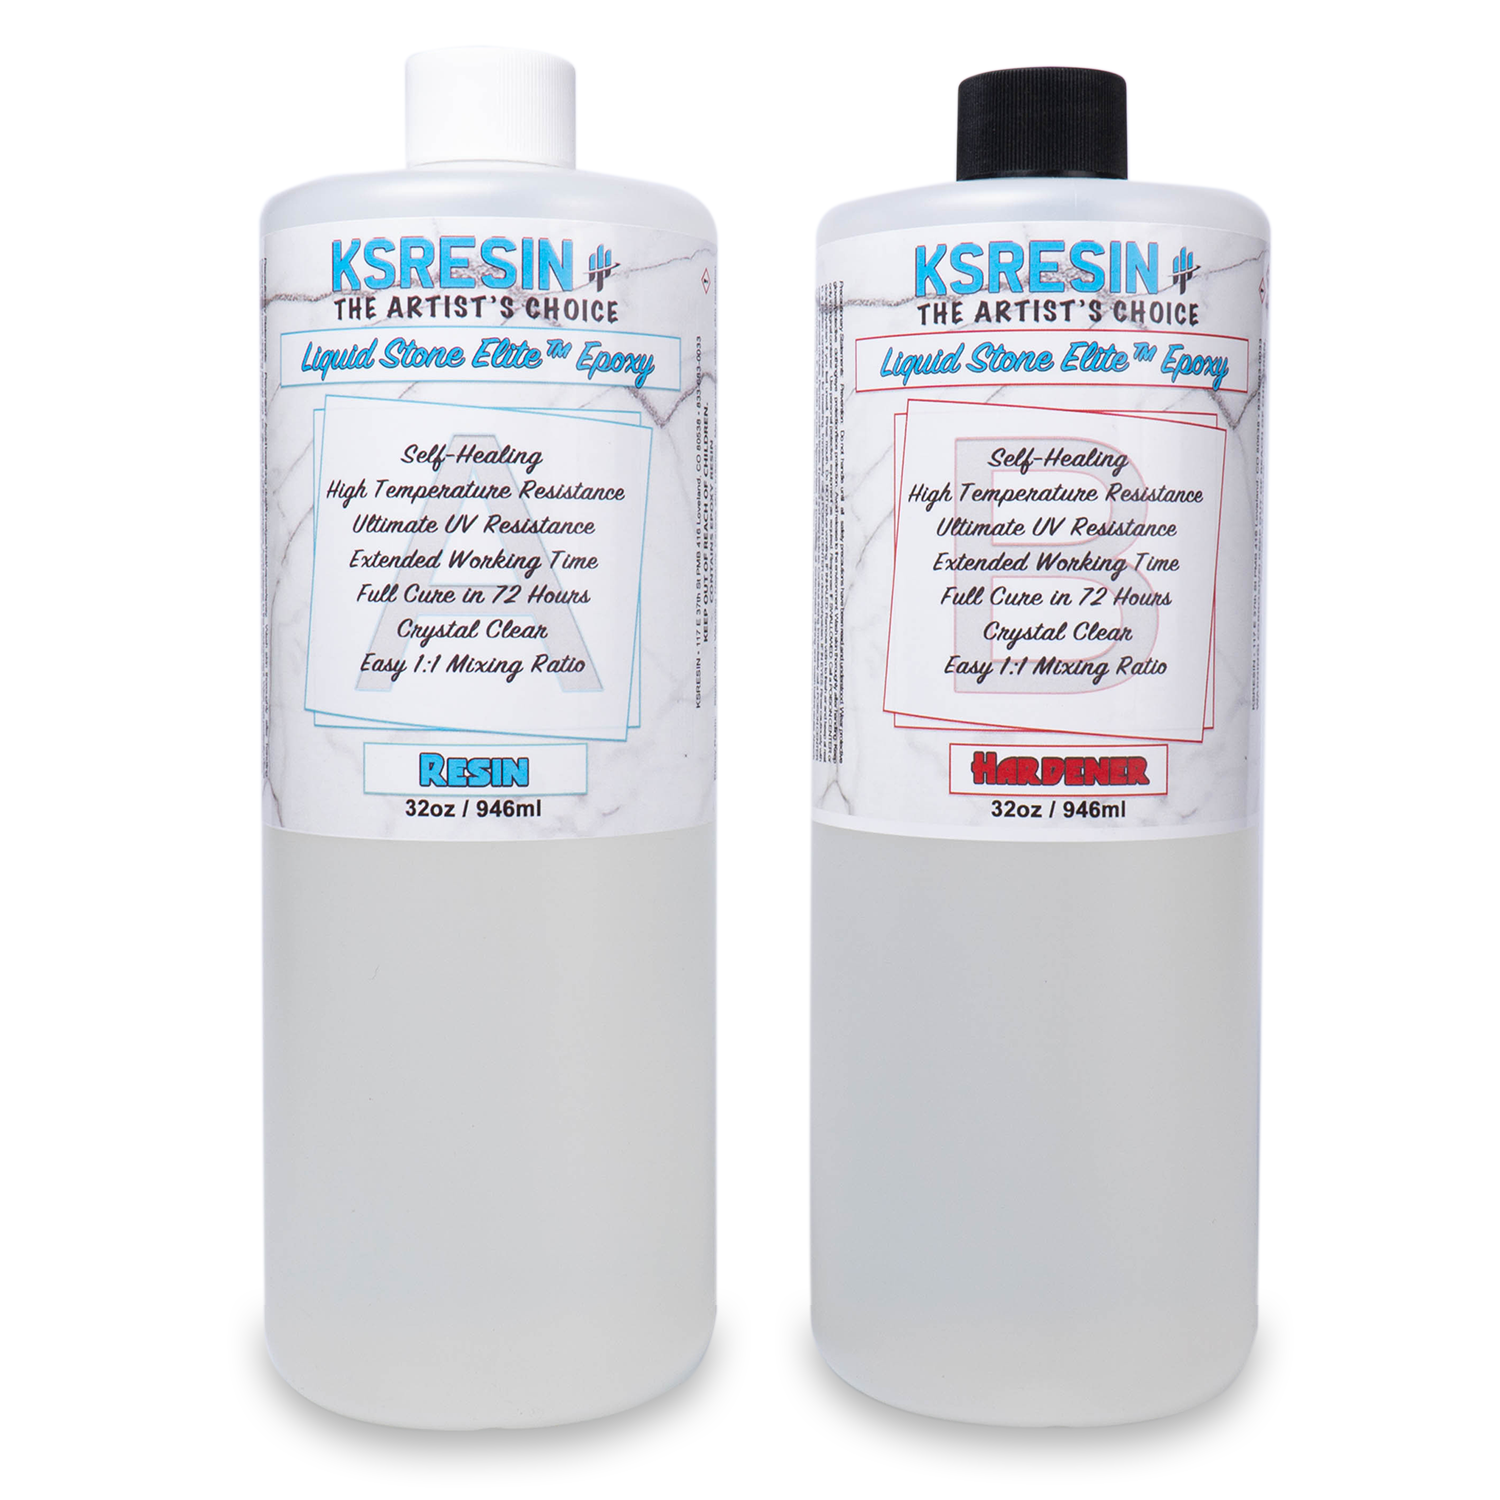
64oz Kit = 32 ounces Resin + 32 ounces Hardener
1 Gallon Kit = 64 ounces Resin + 64 ounces Hardener
2 Gallon Kit* = 128 ounces Resin + 128 ounces Hardener
* (Shipped in multiple 64oz Containers for ease of use, may be occasionally sent in 128oz containers if 64oz containers are unavailable at the time)