

Introducing Crystal Cast Epoxy Resin – the ultimate solution for casting and encapsulating small objects with exceptional hardness and clarity. Specially formulated for a variety of resin projects, including floral preservation epoxy resin, epoxy resin coasters, epoxy resin jewelry, epoxy resin bracelets, pendants, and earrings, Crystal Cast Epoxy Resin delivers a high-gloss, ultra-clear finish to showcase the intricate details of your creations.
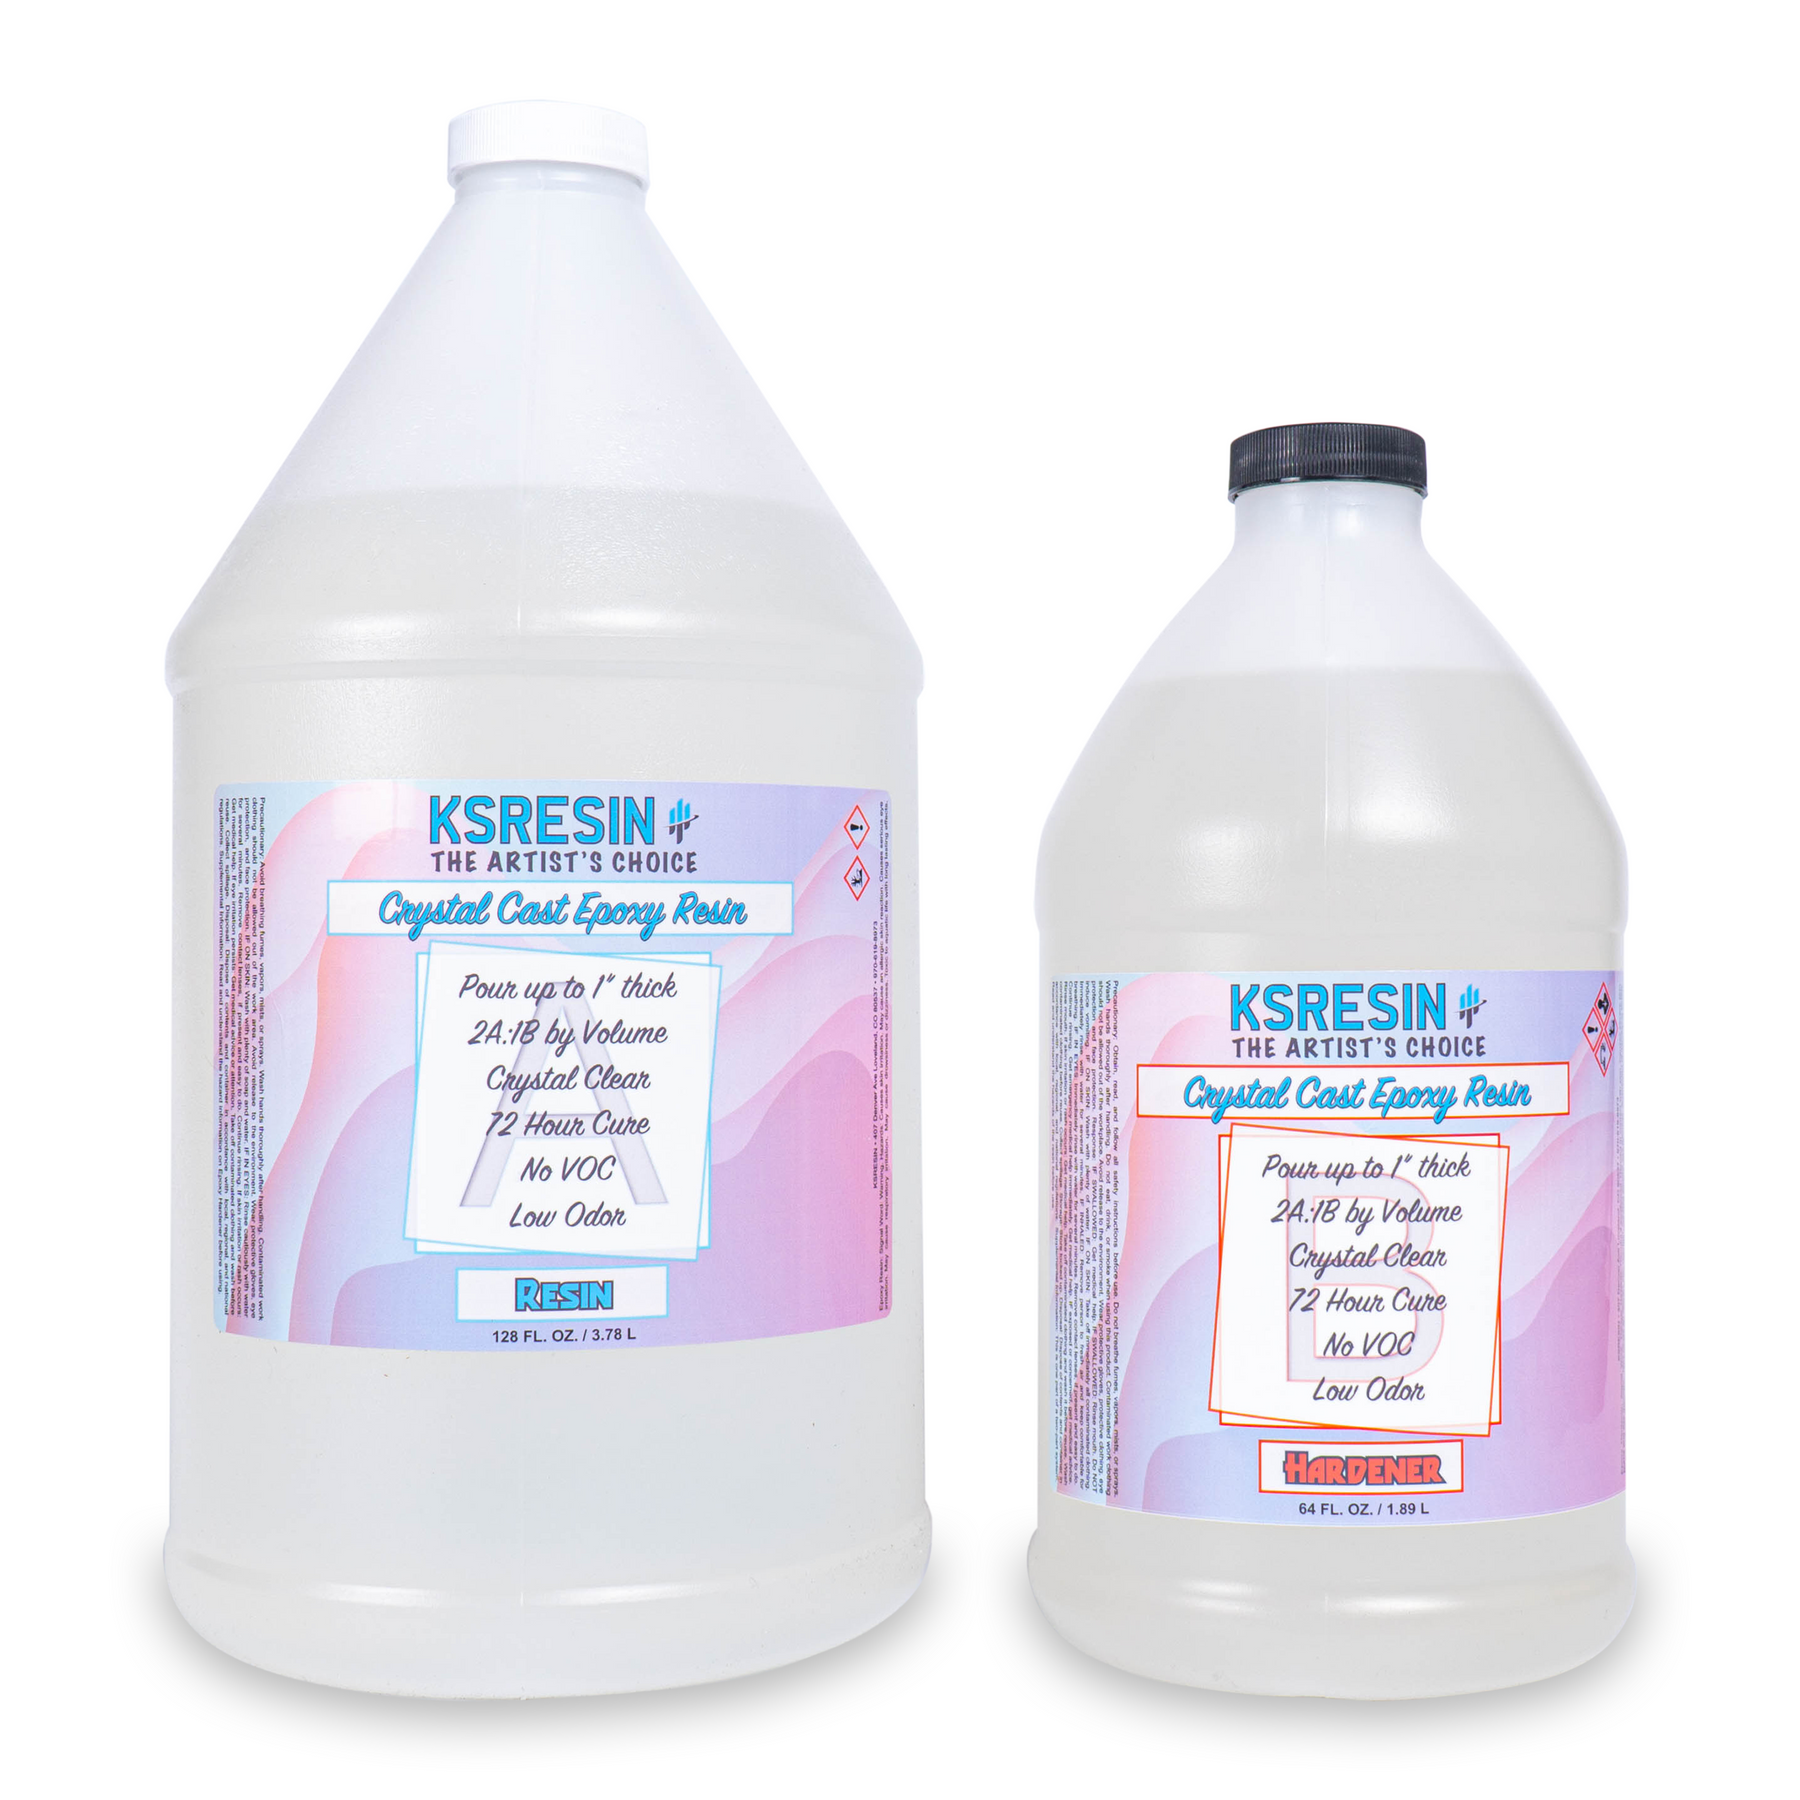
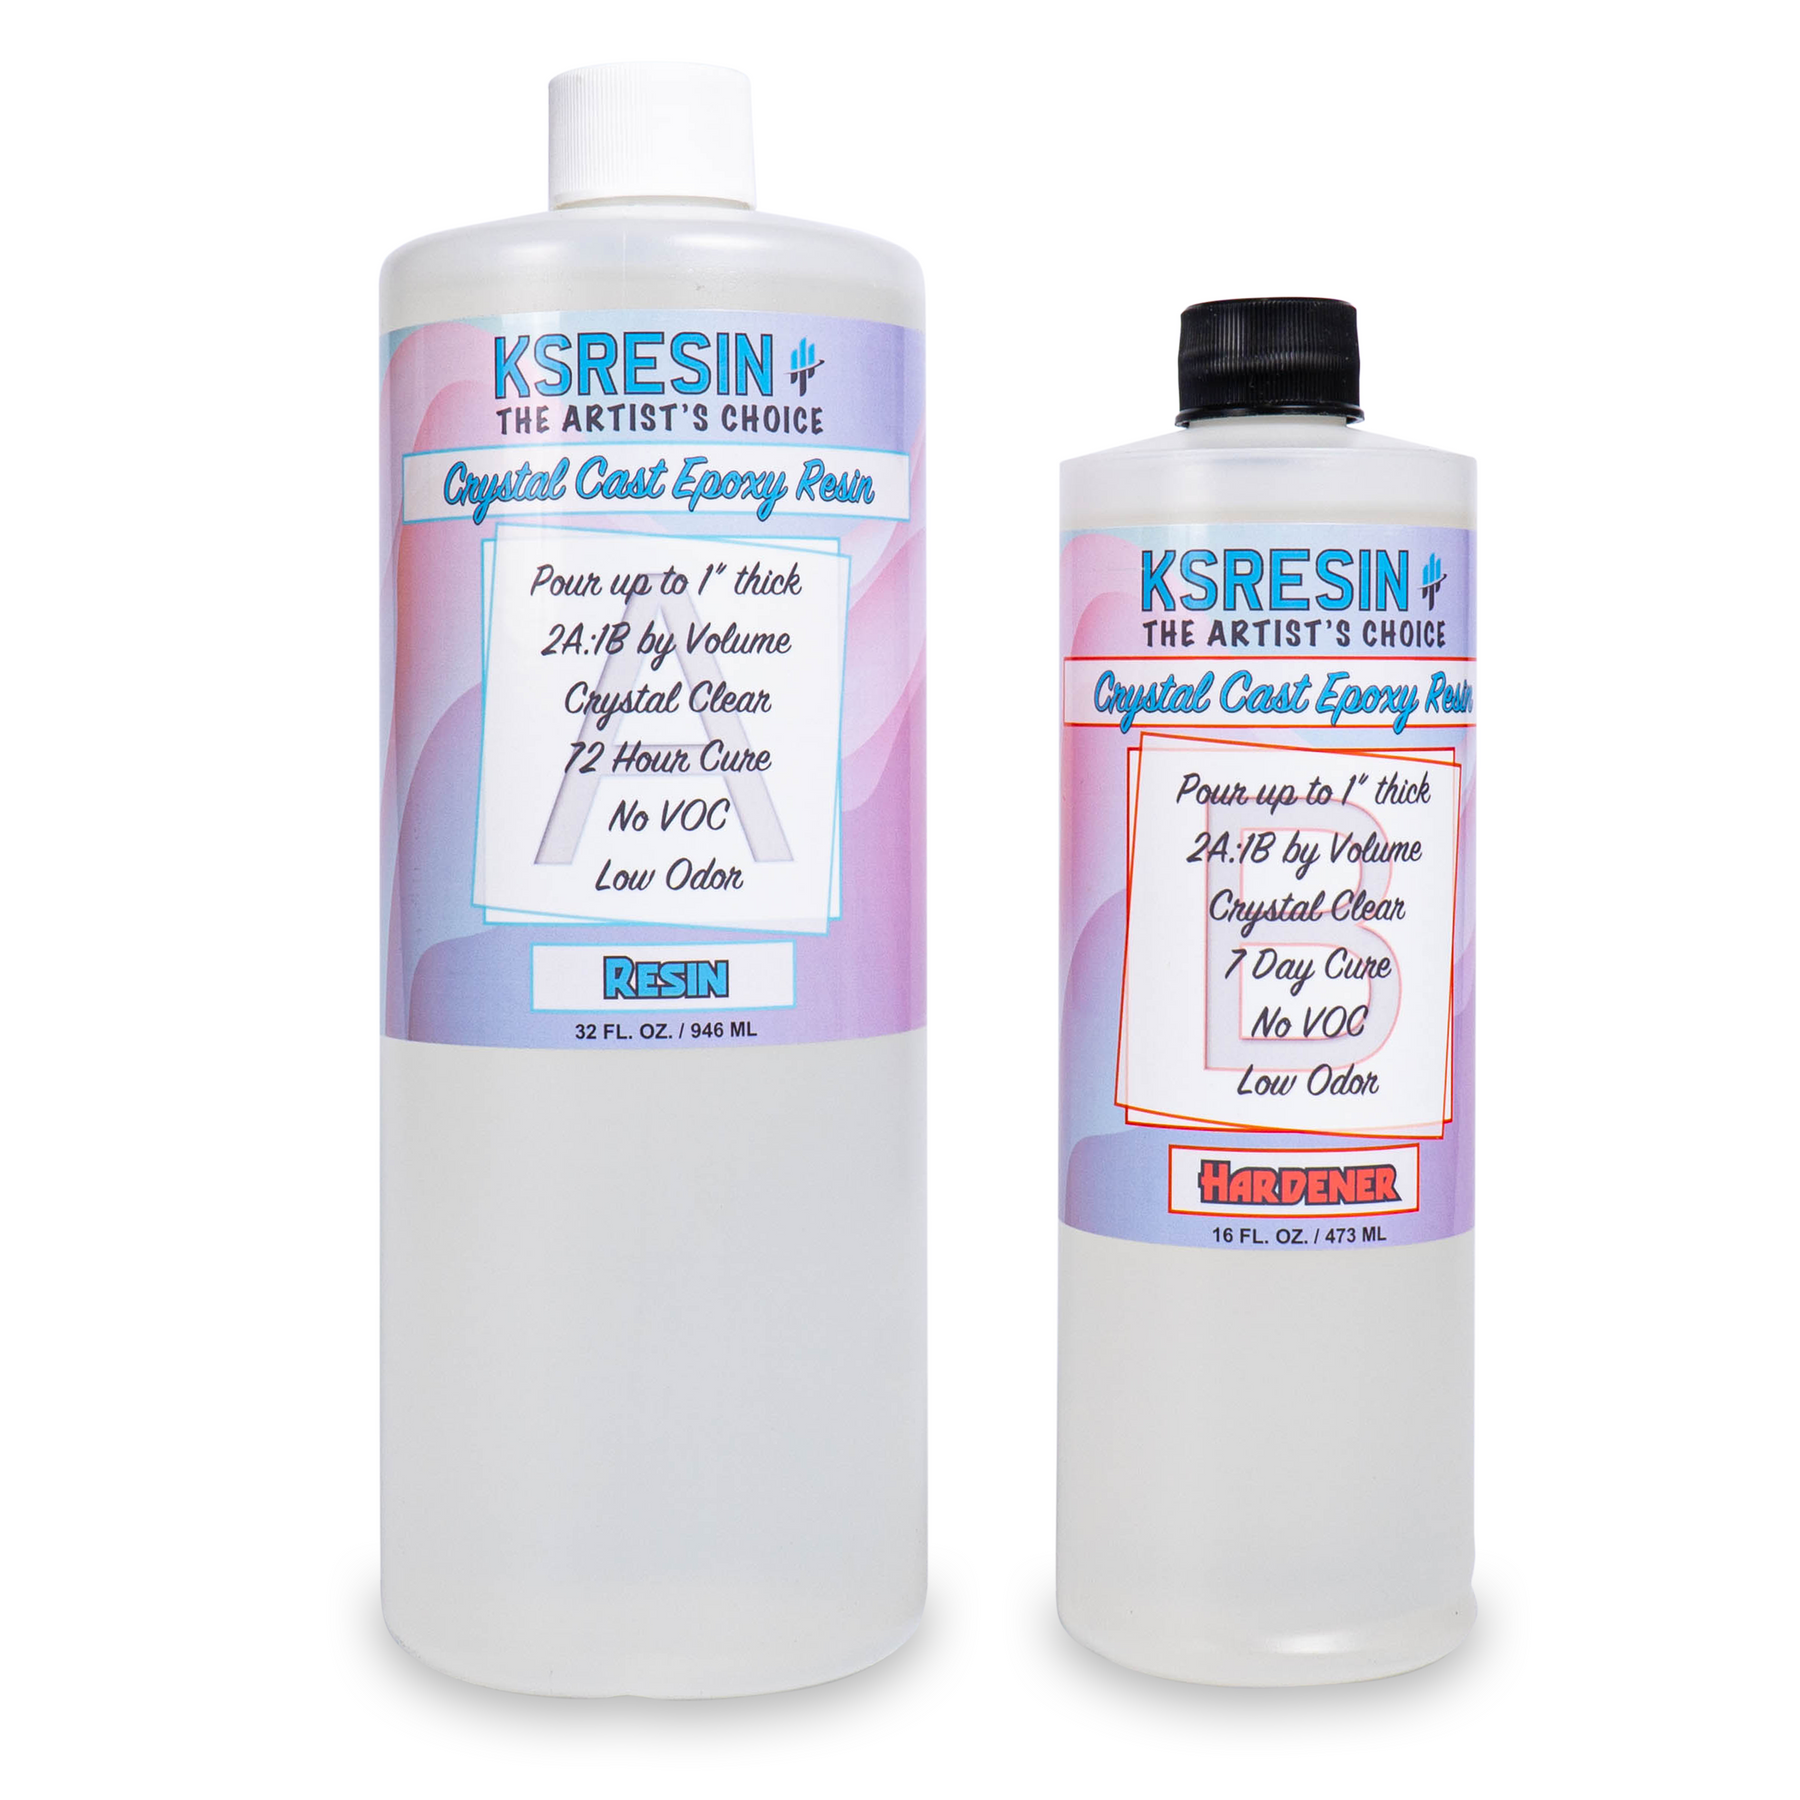
Designed for pours from 1/8" up to 1" thick per layer in small to medium molds, this versatile epoxy resin is perfect for preserving flowers in resin, making epoxy resin charms, epoxy resin necklaces, epoxy resin rings, and various other epoxy resin crafts. With a 2A:1B mixing ratio by volume, Crystal Cast Epoxy Resin is simple to mix and offers a low viscosity for easy pouring and excellent air release.
Unleash your creativity with Crystal Cast Epoxy Resin, the ideal choice for crafting stunning epoxy resin accessories and preserving your treasured memories in crystal clear, glossy perfection.
✔️ 45+ Minute Working Time
✔️ Dry in 12-24 Hours
✔️ Excellent Air Release
✔️ 2A:1B Mixing Ratio by Volume
✔️ High Gloss Finish
✔️ Made in the USA
✔️ Low Viscosity
✔️ No VOC
✔️ Ultra-Clear
✔️ Pour up to 1" thick per layer
✔️ For small and medium molds
✔️ For casting and encapsulation
✔️ Improved hardness and clarity
Gather your epoxy resin, mixing supplies, and personal protective equipment. We recommend at the very least using nitrile gloves, safety glasses, clothing to protect from spills. Be sure to use epoxy resin in a well-ventilated room or use an air-purifying respirator.
Using a tape measure, measure the length, width, and depth of your mold and then input this information into the Epoxy Resin Coverage Calculator to determine how much epoxy resin you will need to fill the mold.
Measure your desired amount of epoxy resin at a 2:1 ratio by volume into a graduated mixing cup. Pour the resin first, allow it a moment to settle, and pour the hardener.
Mix the two parts together for a total of four minutes. Be sure to scrape the bottom and sides of the container while mixing so that there is no un-mixed epoxy resin. Aggressive mixing can introduce excessive air, stir slowly but thoroughly. Continue to stir until the epoxy resin no longer has ribbons and returns to clear.
Pour the epoxy resin slowly into your mold in 1/4" increments. To minimize trapped air in your project pour in 1/4" increments, allow 1-2 minutes for air to surface, sweep your torch or heat gun over the surface to pop any bubbles, and repeat until you reach your desired depth.
Quickly sweep a propane torch or heat gun across the surface being sure to keep the flame 6-8 inches away from the surface. Do not overheat the epoxy resin or hold the heat in one spot for too long. We recommend heating the epoxy resin only during the working time, do not apply heat once the working time has passed. After eliminating bubbles allow the epoxy resin time to cure in the appropriate environment (listed in Technical Data below).
Ensure that you are working in a well-ventilated room or using an air-purifying respirator.
Questions? Check out our FAQ.
Not finding what you need? Email support@ksresin.com for project support.
Flower Preservation
Encapsulation
Automotive Shift Knobs
Wine Stoppers
Paper Weights
Coasters
Trays
Ideal Curing Temperature - 65°F - 80°F
Working Time - 90 Minutes
Dry to Touch - 12-24 Hours
Full Cure - 7 Days (Depending on volume and mass of pour)
Minimum Depth of Pour - 1/8"
Maximum Depth of Pour - 1"
Temperature Resistance - 475°F
Shelf Life (Unopened) - ±12 Months
Shelf Life (Opened) - ±6 Months
Shore D Hardness - 70-80
48oz Kit = 32 ounces Resin + 16 ounces Hardener
1.5 Gallon Kit = 128 ounces Resin + 64 ounces Hardener